Write your first Flutter app, part 1
If you prefer an instructor-led version of this codelab, check out the following workshop:
This is a guide to creating your first Flutter app. If you are familiar with object-oriented code and basic programming concepts such as variables, loops, and conditionals, you can complete this tutorial. You don’t need previous experience with Dart, mobile, or web programming.
This codelab is part 1 of a two-part codelab. You can find part 2 on Google Developers Codelabs (as well as a copy of this codelab, part 1).
What you’ll build in part 1
You’ll implement a simple app that generates proposed names for a startup company. The user can select and unselect names, saving the best ones. The code lazily generates 10 names at a time. As the user scrolls, more names are generated. There is no limit to how far a user can scroll.
The animated GIF shows how the app works at the completion of part 1.
Every Flutter app you
create also compiles for the web. In your IDE under
the devices pulldown, or at the command line
using flutter devices, you should now see Chrome
and Web server listed. The Chrome device
automatically starts Chrome. The Web server
starts a server that hosts the app so that you can
load it from any browser. Use the Chrome device during
development so that you can use DevTools,
and the web server when you want to test on
other browsers. For more information,
see Building a web application with Flutter
and Write your first Flutter app on the web.
Step 1: Create the starter Flutter app
Create a simple, templated Flutter app, using the instructions in Getting Started with your first Flutter app. Name the project startup_namer (instead of flutter_app).
You’ll mostly edit lib/main.dart, where the Dart code lives.
-
Replace the contents of
lib/main.dart.
Delete all of the code from lib/main.dart. Replace with the following code, which displays “Hello World” in the center of the screen.lib/main.dart// Copyright 2018 The Flutter team. All rights reserved. // Use of this source code is governed by a BSD-style license that can be // found in the LICENSE file. import 'package:flutter/material.dart'; void main() => runApp(MyApp()); class MyApp extends StatelessWidget { @override Widget build(BuildContext context) { return MaterialApp( title: 'Welcome to Flutter', home: Scaffold( appBar: AppBar( title: const Text('Welcome to Flutter'), ), body: const Center( child: Text('Hello World'), ), ), ); } } -
Run the app in the way your IDE describes. You should see either Android, iOS, or web output, depending on your device.
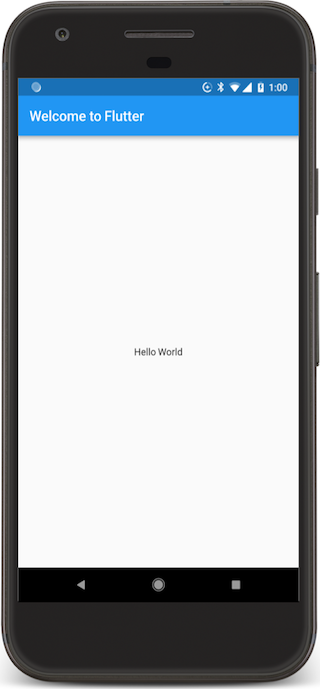
Android 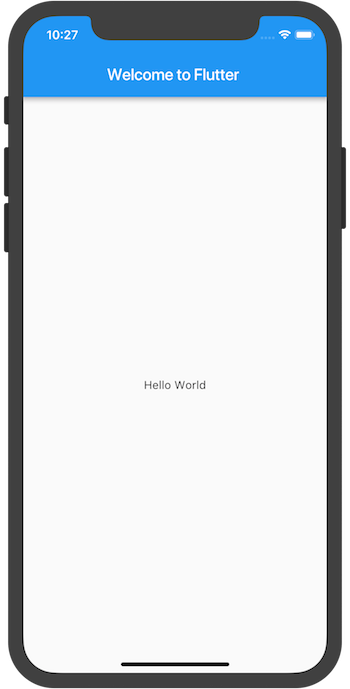
iOS
Observations
-
This example creates a Material app. Material is a visual design language that is standard on mobile and the web. Flutter offers a rich set of Material widgets. It’s a good idea to have a
uses-material-design: trueentry in thefluttersection of yourpubspec.yamlfile. This will allow you to use more features of Material, such as their set of predefined Icons. - The
main()method uses arrow (=>) notation. Use arrow notation for one-line functions or methods. - The app extends
StatelessWidget, which makes the app itself a widget. In Flutter, almost everything is a widget, including alignment, padding, and layout. - The
Scaffoldwidget, from the Material library, provides a default app bar, and a body property that holds the widget tree for the home screen. The widget subtree can be quite complex. - A widget’s main job is to provide a
build()method that describes how to display the widget in terms of other, lower level widgets. - The body for this example consists of a
Centerwidget containing aTextchild widget. The Center widget aligns its widget subtree to the center of the screen.
Step 2: Use an external package
In this step, you’ll start using an open-source package named english_words, which contains a few thousand of the most used English words plus some utility functions.
You can find the english_words package,
as well as many other open source packages, on pub.dev.
-
The
pubspec.yamlfile manages the assets and dependencies for a Flutter app. Inpubspec.yaml, addenglish_words(3.1.5 or higher) to the dependencies list:{step1_base → step2_use_package}/pubspec.yaml@@ -8,4 +8,5 @@88dependencies:99flutter:1010sdk: flutter1111cupertino_icons: ^1.0.312+ english_words: ^4.0.0 -
While viewing the
pubspec.yamlfile in Android Studio’s editor view, click Pub get. This pulls the package into your project. You should see the following in the console:$ flutter pub get Running "flutter pub get" in startup_namer... Process finished with exit code 0Performing
Pub getalso auto-generates thepubspec.lockfile with a list of all packages pulled into the project and their version numbers. -
In
lib/main.dart, import the new package:lib/main.dartimport 'package:english_words/english_words.dart'; import 'package:flutter/material.dart';As you type, Android Studio gives you suggestions for libraries to import. It then renders the import string in gray, letting you know that the imported library is unused (so far).
-
Use the English words package to generate the text instead of using the string “Hello World”:
{step1_base → step2_use_package}/lib/main.dart@@ -9,14 +10,15 @@910class MyApp extends StatelessWidget {1011@override1112Widget build(BuildContext context) {13+ final wordPair = WordPair.random();1214return MaterialApp(1315title: 'Welcome to Flutter',1416home: Scaffold(1517appBar: AppBar(1618title: const Text('Welcome to Flutter'),1719),18- body:constCenter(19- child: Text('Hello World'),20+ body: Center(21+ child: Text(wordPair.asPascalCase),2022),2123),2224); -
If the app is running, hot reload to update the running app. Each time you click hot reload, or save the project, you should see a different word pair, chosen at random, in the running app. This is because the word pairing is generated inside the build method, which is run each time the
MaterialApprequires rendering, or when toggling the Platform in Flutter Inspector.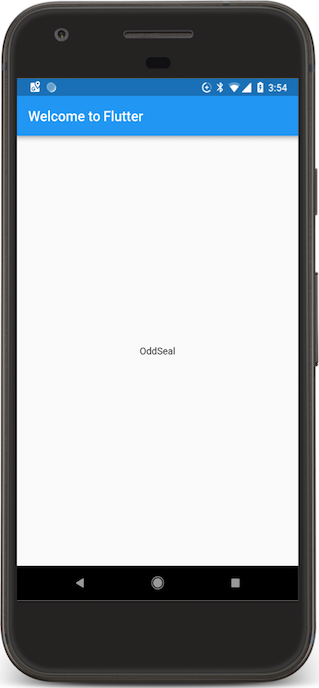
Android 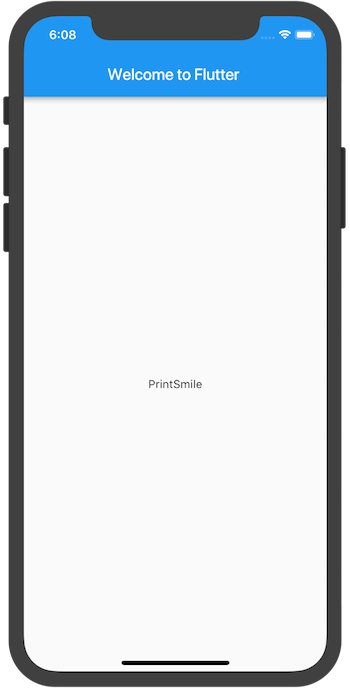
iOS
Problems?
If your app is not running correctly, look for typos. If you want to try some of Flutter’s debugging tools, check out the DevTools suite of debugging and profiling tools. If needed, use the code at the following links to get back on track.
Step 3: Add a Stateful widget
Stateless widgets are immutable, meaning that their properties can’t change—all values are final.
Stateful widgets maintain state that might change
during the lifetime of the widget. Implementing a stateful
widget requires at least two classes: 1) a StatefulWidget class
that creates an instance of 2) a State class. The StatefulWidget
class is, itself, immutable and can be thrown away and regenerated,
but the State class persists over the lifetime of the widget.
In this step, you’ll add a stateful widget, RandomWords, which creates
its State class, _RandomWordsState. You’ll then use RandomWords as
a child inside the existing MyApp stateless widget.
-
Create the boilerplate code for a stateful widget.
Inlib/main.dart, position your cursor after all of the code, enter Return a couple times to start on a fresh line. In your IDE, start typingstful. The editor asks if you want to create aStatefulwidget. Press Return to accept. The boilerplate code for two classes appears, and the cursor is positioned for you to enter the name of your stateful widget. -
Enter
RandomWordsas the name of your widget.
TheRandomWordswidget does little else beside creating itsStateclass.
Once you’ve enteredRandomWordsas the name of the stateful widget, the IDE automatically updates the accompanyingStateclass, naming it_RandomWordsState. By default, the name of theStateclass is prefixed with an underbar. Prefixing an identifier with an underscore enforces privacy in the Dart language and is a recommended best practice forStateobjects.
The IDE also automatically updates the state class to extendState<RandomWords>, indicating that you’re using a genericStateclass specialized for use withRandomWords. Most of the app’s logic resides here—it maintains the state for theRandomWordswidget. This class saves the list of generated word pairs, which grows infinitely as the user scrolls and, in part 2 of this lab, favorites word pairs as the user adds or removes them from the list by toggling the heart icon.
Both classes now look as follows:class RandomWords extends StatefulWidget { @override _RandomWordsState createState() => _RandomWordsState(); } class _RandomWordsState extends State<RandomWords> { @override Widget build(BuildContext context) { return Container(); } } -
Update the
build()method in_RandomWordsState:lib/main.dart (_RandomWordsState)class _RandomWordsState extends State<RandomWords> { @override Widget build(BuildContext context) { final wordPair = WordPair.random(); return Text(wordPair.asPascalCase); } } -
Remove the word generation code from
MyAppby making the changes shown in the following diff:{step2_use_package → step3_stateful_widget}/lib/main.dart@@ -10,7 +10,6 @@1010class MyApp extends StatelessWidget {1111@override1212Widget build(BuildContext context) {13- final wordPair = WordPair.random();1413return MaterialApp(1514title: 'Welcome to Flutter',1615home: Scaffold(@@ -18,8 +17,8 @@1817title: const Text('Welcome to Flutter'),1918),2019body: Center(21- child:Text(wordPair.asPascalCase),20+ child: RandomWords(),2221),2322),2423);2524} -
Restart the app. The app should behave as before, displaying a word pairing each time you hot reload or save the app.
Problems?
If your app is not running correctly, look for typos. If you want to try some of Flutter’s debugging tools, check out the DevTools suite of debugging and profiling tools. If needed, use the code at the following link to get back on track.
Step 4: Create an infinite scrolling ListView
In this step, you’ll expand _RandomWordsState to generate
and display a list of word pairings. As the user scrolls the list
(displayed in a ListView widget) grows infinitely. ListView’s
builder factory constructor allows you to build a list view
lazily, on demand.
-
Add a
_suggestionslist to the_RandomWordsStateclass for saving suggested word pairings. Also, add a_biggerFontvariable for making the font size larger.lib/main.dartclass _RandomWordsState extends State<RandomWords> { final _suggestions = <WordPair>[]; final _biggerFont = const TextStyle(fontSize: 18.0); // ··· }Next, you’ll add a
_buildSuggestions()function to the_RandomWordsStateclass. This method builds theListViewthat displays the suggested word pairing.The
ListViewclass provides a builder property,itemBuilder, that’s a factory builder and callback function specified as an anonymous function. Two parameters are passed to the function—theBuildContext, and the row iterator,i. The iterator begins at 0 and increments each time the function is called. It increments twice for every suggested word pairing: once for the ListTile, and once for the Divider. This model allows the suggested list to continue growing as the user scrolls. -
Add a
_buildSuggestions()function to the_RandomWordsStateclass:lib/main.dart (_buildSuggestions)Widget _buildSuggestions() { return ListView.builder( padding: const EdgeInsets.all(16.0), itemBuilder: /*1*/ (context, i) { if (i.isOdd) return const Divider(); /*2*/ final index = i ~/ 2; /*3*/ if (index >= _suggestions.length) { _suggestions.addAll(generateWordPairs().take(10)); /*4*/ } return _buildRow(_suggestions[index]); }); }- The
itemBuildercallback is called once per suggested word pairing, and places each suggestion into aListTilerow. For even rows, the function adds aListTilerow for the word pairing. For odd rows, the function adds aDividerwidget to visually separate the entries. Note that the divider might be difficult to see on smaller devices. - Add a one-pixel-high divider widget before each row in the
ListView. - The expression
i ~/ 2dividesiby 2 and returns an integer result. For example: 1, 2, 3, 4, 5 becomes 0, 1, 1, 2, 2. This calculates the actual number of word pairings in theListView, minus the divider widgets. - If you’ve reached the end of the available word pairings, then generate 10 more and add them to the suggestions list.
The
_buildSuggestions()function calls_buildRow()once per word pair. This function displays each new pair in aListTile, which allows you to make the rows more attractive in the next step. - The
-
Add a
_buildRow()function to_RandomWordsState:lib/main.dart (_buildRow)Widget _buildRow(WordPair pair) { return ListTile( title: Text( pair.asPascalCase, style: _biggerFont, ), ); } -
In the
_RandomWordsStateclass, update thebuild()method to use_buildSuggestions(), rather than directly calling the word generation library. (Scaffoldimplements the basic Material Design visual layout.) Replace the method body with the highlighted code:lib/main.dart (build)@override Widget build(BuildContext context) { return Scaffold( appBar: AppBar( title: const Text('Startup Name Generator'), ), body: _buildSuggestions(), ); } -
In the
MyAppclass, update thebuild()method by changing the title, and changing the home to be aRandomWordswidget:{step3_stateful_widget → step4_infinite_list}/lib/main.dart@@ -10,15 +10,8 @@1010class MyApp extends StatelessWidget {1111@override1212Widget build(BuildContext context) {1313return MaterialApp(14- title: 'WelcometoFlutter',15- home:Scaffold(16- appBar: AppBar(17- title: const Text('Welcome to Flutter'),18- ),19- body: Center(20- child: RandomWords(),21- ),22- ),14+ title: 'Startup Name Generator',15+ home: RandomWords(),2316);2417} -
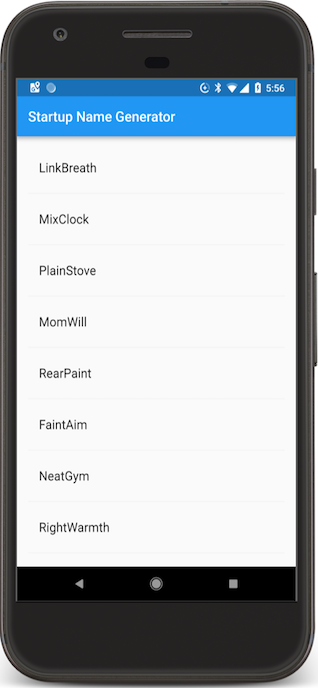
Restart the app. You should see a list of word pairings no matter how far you scroll.
Android 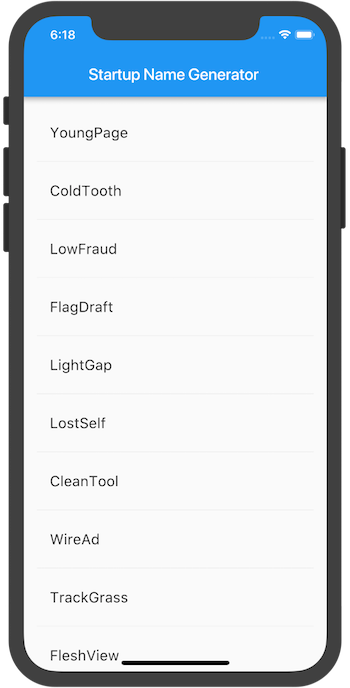
iOS
Problems?
If your app is not running correctly, look for typos. If you want to try some of Flutter’s debugging tools, check out the DevTools suite of debugging and profiling tools. If needed, use the code at the following link to get back on track.
Profile or release runs
So far you’ve been running your app in debug mode. Debug mode trades performance for useful developer features such as hot reload and step debugging. It’s not unexpected to see slow performance and janky animations in debug mode. Once you are ready to analyze performance or release your app, you’ll want to use Flutter’s “profile” or “release” build modes. For more details, see Flutter’s build modes.
Next steps
Congratulations!
You’ve written an interactive Flutter app that runs on both iOS and Android. In this codelab, you’ve:
- Created a Flutter app from the ground up.
- Written Dart code.
- Leveraged an external, third-party library.
- Used hot reload for a faster development cycle.
- Implemented a stateful widget.
- Created a lazily loaded, infinite scrolling list.
If you would like to extend this app, proceed to part 2 on the Google Developers Codelabs site, where you add the following functionality:
- Implement interactivity by adding a clickable heart icon to save favorite pairings.
- Implement navigation to a new route by adding a new screen containing the saved favorites.
- Modify the theme color, making an all-white app.